Simple instructions on how to setup a custom domain with OGAds!
Written by Ben
Please make sure you're using a brand new domain. You cannot use the same domain with a landing page or website.
Looking for a more in-depth guide with smaller steps? We break it down here. Or follow along with our video tutorial. This guide includes buying a domain with Namecheap and the login process.
Firstly, buy your domain from your favourite registrar! We recommend InternetBS or Namecheap for cheaper domains, and Njalla for better protected domains.
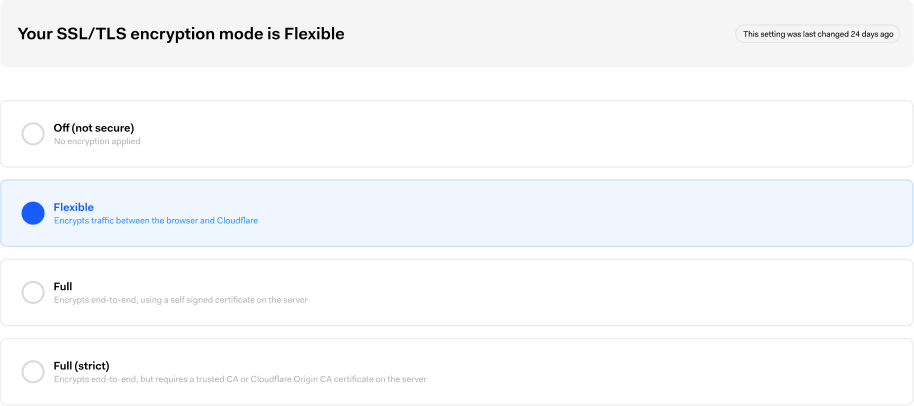
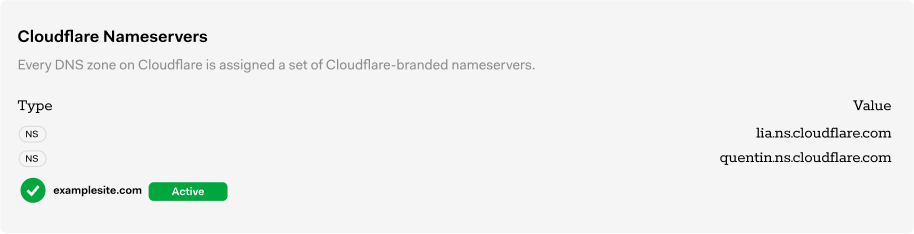
Complete all steps on Cloudflare, including changing your name servers on your registrar (namecheap etc) until you have added your site successfully and you see it has been accepted -- Note these nameservers may be different on your cloudflare account so do not copy the ones below.
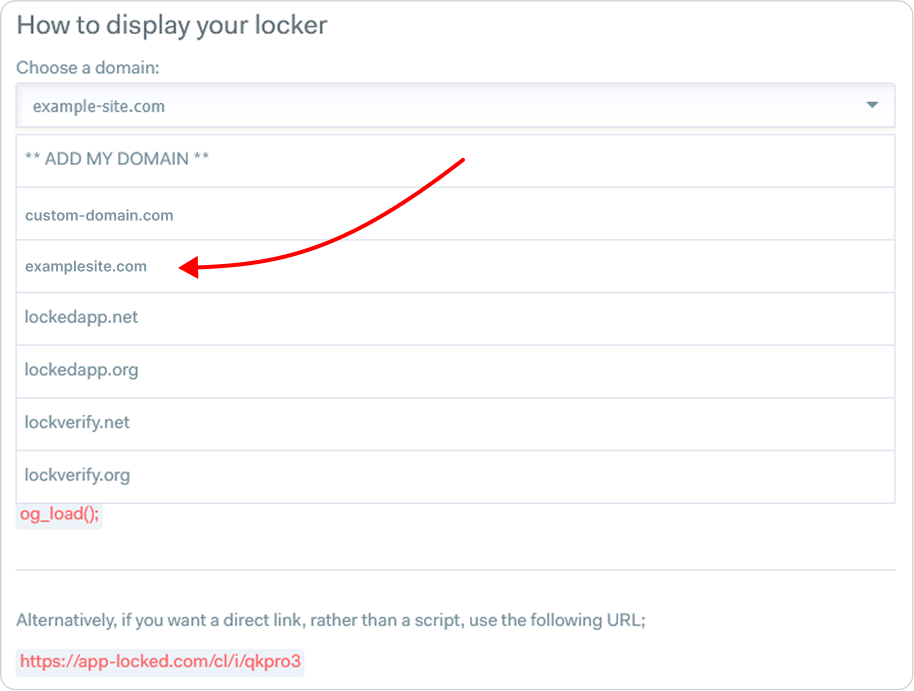
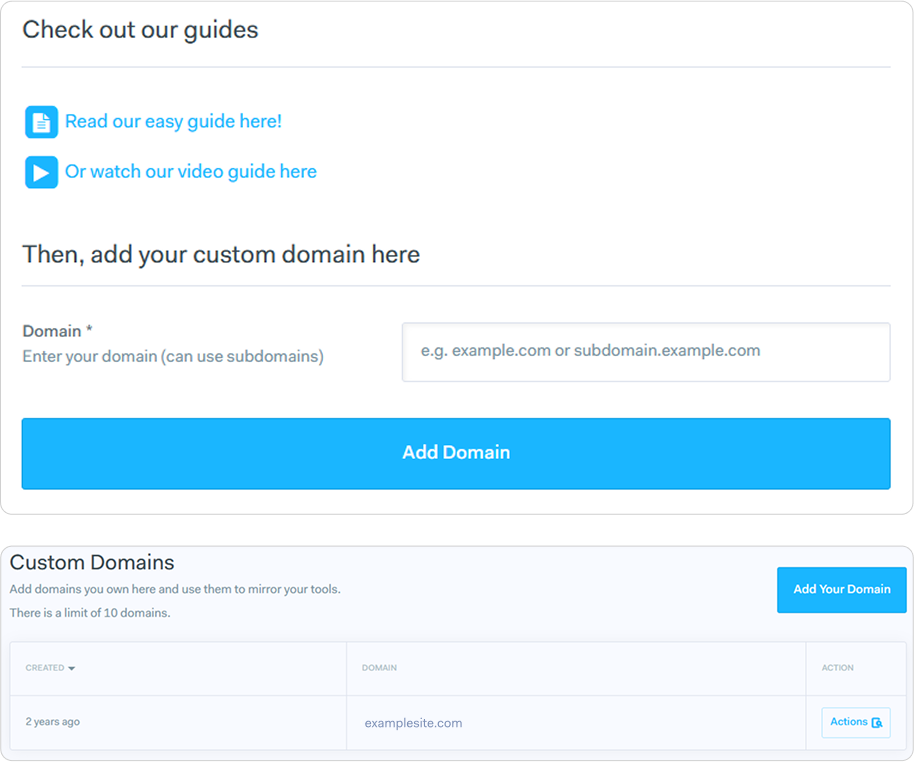
Navigate to the dashboard and custom domains found here.
Click on Add Your Domain. From here, you'll be presented with the domain specific to your account. You'll copy the record shown here for the next step. (Do not copy the example domain in this picture)

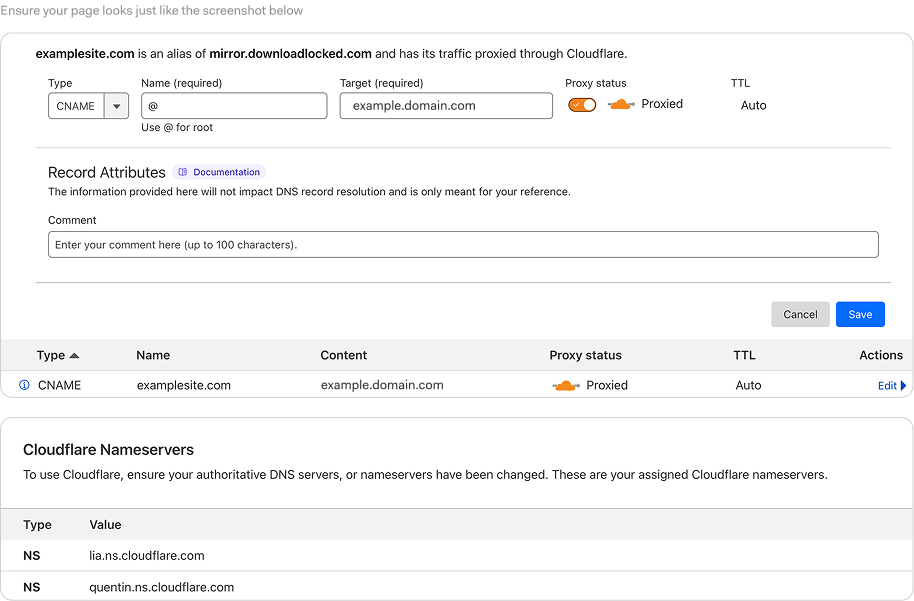
Click on the site and go to the DNS area, you can delete all the records that are in the box already if you are on a brand new domain.
Under the DNS section add a CNAME record with the value you copied earlier in step 4.
Congrats, you setup Cloudflare for OGAds! Now please add it to the OG Dashboard.
Congratulations! Your domain should now be an available option on any tool details page
For example, go to the Tools → Content Lockers page
Find one of your content lockers and click Actions → View Details